Laundry Room Renovation

The Goal: Eliminate Clutter
This is the door we use to walk in to the house, and I started realizing it was affecting my mood. No one wants to walk in to their home and be greeted by clutter and mess. It wasn’t a very welcoming sight to see after a long day at work. Even if the rest of the house was clean, this just didn’t set the right tone for the rest of my evening.
The Process
1. Creating Storage
I also don’t have a ton of storage options in my house. We started the kitchen renovation at the same time we began the laundry room. Since we were knocking down a wall between the kitchen and living room, I lost 2 large upper cabinets. I knew I would have to come up with some alternative storage options. Which started with adding additional storage in the pantry but I’ll cover that another time.
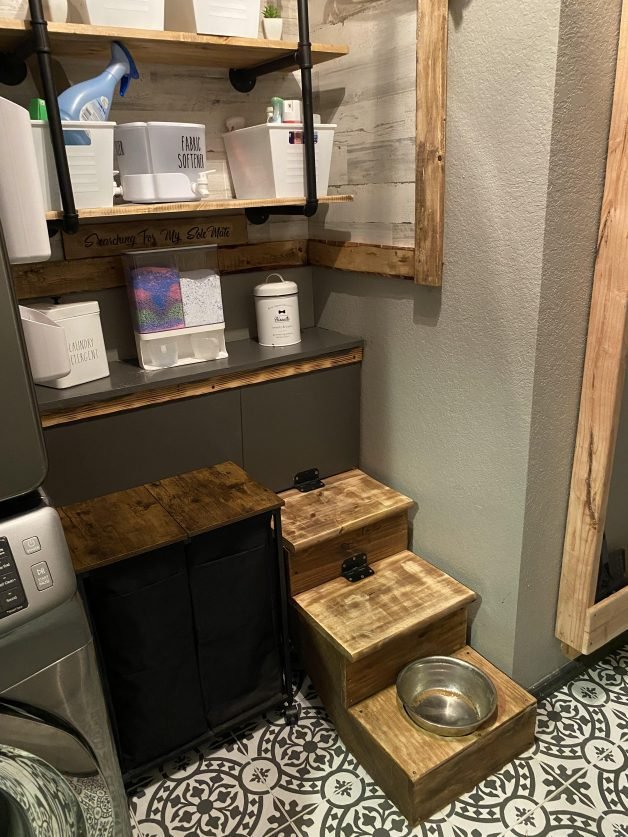
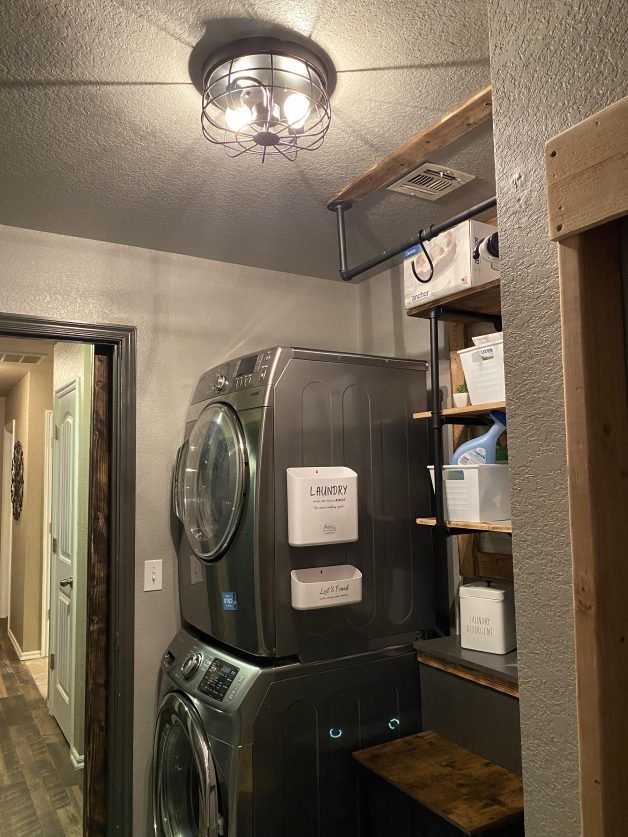
My next thought was that I could use the laundry room for some additional storage. But only if I could CREATE more storage in there. The way it was, it wasn’t functional. I hated having to search for the step stool anytime I wanted to reach the shelving behind the washer and dryer. As I started laying out my new design, I knew I wanted a couple of things.
2. Laying Out the Design
Materials:
- Shelves
- Organization
- Food Bowl for Rocky
- Built in Steps
- Dispensers for laundry supplies
- Space for laundry basket
- Rod for Hanging Clothes
- Space for Folding
- Space for Brooms & Mops
- Sliding Barn Door


The Results
If you want to be notified when the new article is posted, please subscribe to our blog so you don’t miss it. I will also post an updated video to YouTube, so if you follow us there, you’ll be sure to see it.
Thanks for checking out the post so far. Please let us know what you think in the comments.

< Back to Projects
